Why This Pumpkin Custard Recipe Stands Above the Rest
The Sieve Secret: Unlocking Unbeatable Smoothness
The single most important step for an exquisite Pumpkin Custard is straining the mixture through a fine-mesh sieve.
This simple action eliminates any tiny lumps, unmixed spices, or stringy pumpkin fibers, ensuring a foundation of unparalleled silkiness.
Water Bath Wisdom: Preventing Cracks and Ensuring Creaminess
A gentle water bath provides consistent, even heat, allowing the custard to cook slowly and uniformly.
This crucial technique prevents the edges from overcooking and cracking while ensuring the center sets into a gloriously creamy texture.
The “Jiggle Test”: Perfecting Your Custard’s Texture
Knowing precisely when to remove your Pumpkin Custard from the oven is key to preventing dryness.
The “slight jiggle” test ensures your custard finishes setting during cooling, resulting in a supremely creamy, never grainy, interior.

Simple Ingredients, Spectacular Results
You don’t need exotic components to achieve a luxurious dessert.
This recipe transforms readily available, humble ingredients into an extraordinary Pumpkin Custard that truly impresses.
Gather Your Essentials: Ingredients for Incredible Pumpkin Custard
Pure Pumpkin: The Heart of the Flavor
Using pure pumpkin puree (not pie filling) is essential for an authentic, unadulterated pumpkin flavor.
It provides the natural sweetness and earthy foundation crucial for a classic Pumpkin Custard.
Sweet Balance: Sugars and Spice
The combination of granulated and light brown sugar offers a nuanced sweetness with delightful molasses notes.
Pumpkin pie spice infuses warmth and aromatic complexity, defining the quintessential fall flavor profile.
The Creamy Foundation: Eggs and Half-and-Half
Large eggs provide vital structure and richness, allowing the custard to set beautifully.
Half-and-half contributes a luxurious creaminess without being overly heavy, ensuring a delicate mouthfeel.
Flavor Boosters: Vanilla and Salt
Vanilla extract adds an aromatic depth that complements the pumpkin and spices perfectly.
A touch of salt balances the sweetness and enhances all the other flavors, making them pop.
Serving Flourish: Whipped Topping and Cinnamon
A generous dollop of whipped topping adds a light, airy contrast to the rich Pumpkin Custard.
A final dusting of ground cinnamon provides a beautiful visual and an extra layer of warm, inviting aroma.
Your Step-by-Step Guide to Silky Pumpkin Custard Perfection
- Prepare Your Baking Environment:
Preheat your oven to 325°F (160°C). Lightly grease a 1 1/2 quart oven-safe baking dish.
A well-prepared dish prevents sticking and ensures easy removal of your finished custard, maintaining its beautiful presentation.
- Combine the Core Ingredients:
In a large bowl, whisk together the pumpkin puree, eggs, granulated sugar, brown sugar, pumpkin pie spice, vanilla extract, and salt until well combined.
Ensure all ingredients are thoroughly incorporated and there are no streaks of unmixed spices or sugar for a uniform custard base.
- Introduce the Half-and-Half and Sieve for Silkiness:
Slowly whisk in the half-and-half until the mixture is uniform.
Here’s the key to that unbelievably silky texture: Pour the entire pumpkin mixture through a fine-mesh sieve into a clean bowl, pressing any solids with a spoon to ensure all liquid passes through.
This critical step removes any tiny lumps or stringy pumpkin fibers, leaving you with a perfectly smooth, refined base that defines this recipe’s superior texture.
- Fill the Dish:
Pour the strained custard mixture into your prepared baking dish.
Handle the dish carefully to avoid spills, keeping the custard at an even level.
- Set Up the Crucial Water Bath:
Place the baking dish into a larger roasting pan. Carefully pour hot water into the roasting pan until it reaches about halfway up the sides of the baking dish.
This water bath is crucial for gentle, even cooking, preventing cracks, and ensuring that creamy, smooth interior without overcooking the edges.
- Bake to Perfection (Mind the Jiggle!):
Bake for 50 to 60 minutes, or until the edges are set and a knife inserted about one inch from the edge comes out clean, but the center still has a slight jiggle.
Do not overbake; pulling it out at this slightly jiggly stage is essential for preventing a dry or grainy texture as it finishes setting while cooling.
- Cool and Chill for Optimal Texture:
Carefully remove the baking dish from the water bath and let it cool completely on a wire rack.
Once cooled, refrigerate for at least 4 hours, or preferably overnight, for the best firm and silky texture. This extended chilling process allows the custard to fully set and develop its luxurious mouthfeel.
- Serve with Flair:
Serve chilled, topped generously with dollops of whipped topping and a light dusting of ground cinnamon.
The cold, rich custard contrasts beautifully with the airy topping and aromatic spice, creating a delightful sensory experience.
Expert Tips & Tricks for Custard Mastery
Choosing the Right Baking Dish
Opt for a ceramic or glass baking dish; these materials conduct heat gently and evenly, which is ideal for custard.
An oven-safe dish like an 8×8 inch square or a 9-inch pie dish works perfectly for this recipe’s volume.
Don’t Rush the Sieve!
Patience during the sieving step is non-negotiable for that signature silky smoothness.
Take your time pressing the mixture through the fine mesh, ensuring only the liquid custard base passes through.
The Art of the Water Bath Setup
Always use hot water for your water bath; this prevents a temperature shock to the custard, which can cause cracking.
Ensure the water comes halfway up the sides of your baking dish to maximize the gentle, even cooking effect.
How to Nail the “Slight Jiggle”
A perfectly baked Pumpkin Custard will have edges that are set and firm, but the very center (about a 2-inch diameter) will still shimmer slightly when gently nudged.
It should resemble firm gelatin or panna cotta, not liquid, yet not completely solid like a cake.
Patience is Key: Cooling & Chilling
Allowing the custard to cool completely at room temperature before chilling is crucial.
The lengthy refrigeration period (at least 4 hours, preferably overnight) is when the custard fully sets and develops its rich, firm, and silky consistency.
Customizing Your Spice Blend
While pumpkin pie spice is classic, feel free to adjust it to your preference.
Adding a pinch of ground ginger, nutmeg, or a tiny dash of cloves can enhance the warm, autumnal notes in your Pumpkin Custard.
Troubleshooting Common Pumpkin Custard Conundrums
Why is My Custard Watery or Separated?
This often indicates underbaking, insufficient chilling time, or an oven temperature that was too low.
Ensure your custard passes the “jiggle test” before removing it, and always allow for at least 4 hours of refrigeration.
My Custard Cracked! What Went Wrong?
Cracks typically occur due to overbaking, a lack of a water bath, or cooling too quickly.
Using the water bath and pulling the custard at the slight jiggle stage are your best defenses against cracking.
The Texture is Grainy, Not Smooth. Help!
A grainy texture is often caused by not properly sieving the mixture, overcooking the eggs, or incorrect ingredient ratios.
Meticulously sieving the mixture and carefully monitoring baking time are essential to avoid this.
Custard Won’t Set Even After Chilling
If your Pumpkin Custard refuses to set, it usually means there weren’t enough eggs for proper structure, too much liquid was used, or it wasn’t baked long enough.
Double-check your ingredient measurements and ensure it reaches the slight jiggle stage before cooling.
Frequently Asked Questions About Pumpkin Custard
Can I make this Pumpkin Custard ahead of time?
Absolutely, this Pumpkin Custard is an ideal make-ahead dessert! It’s actually best prepared a day in advance.
The extra chilling time allows the flavors to meld and the texture to firm up perfectly, making it wonderfully convenient for entertaining.
How long does homemade Pumpkin Custard last?
When stored properly in an airtight container in the refrigerator, your homemade Pumpkin Custard will maintain its quality for 3-4 days.
Always keep it chilled to preserve its delicate texture and freshness.
Can I use fresh pumpkin puree instead of canned?
Yes, you can certainly use fresh pumpkin puree! Just be sure to cook your pumpkin down thoroughly and remove as much moisture as possible.
The moisture content of fresh pumpkin can vary, so ensure it measures 15 ounces after pureeing for consistent results.
Is it possible to make this recipe dairy-free or sugar-free?
Making this recipe dairy-free is possible by substituting full-fat coconut milk for half-and-half, though the texture will be slightly different.
For a sugar-free version, use a granulated sugar substitute, but be aware it may affect the overall texture and browning.
What are the best serving suggestions beyond whipped topping?
Beyond the classic whipped topping, consider a drizzle of silky smooth caramel sauce, a sprinkle of candied pecans, or a dollop of crème fraîche for a tangy contrast.
For an extra festive touch, pair it with a slice of moist pumpkin spice cake, or even a scoop of vanilla bean ice cream.
Tools for Your Custard-Making Journey
Essential Kitchen Gadgets
You’ll need basic tools like a large mixing bowl, a sturdy whisk, and accurate measuring cups and spoons.
These simple items are fundamental for preparing the custard mixture precisely.
The Importance of a Fine-Mesh Sieve
A fine-mesh sieve is your secret weapon for achieving truly silky smooth Pumpkin Custard.
This inexpensive tool is indispensable for straining out any small impurities, ensuring a consistently refined texture.
Choosing the Right Roasting Pan for Your Water Bath
Select a roasting pan large enough to comfortably hold your baking dish with about an inch of clearance on all sides.
This allows for even heat distribution from the water bath, crucial for preventing cracks in your custard.
Elevate Your Dessert: Serving & Storage Suggestions
Creative Topping Ideas for Pumpkin Custard
Consider a homemade spiced whipped cream, a scattering of toasted walnuts or pecans, or even a delicate drizzle of melted dark chocolate.
A sprinkle of toasted coconut flakes or a candied orange peel can also add intriguing flavors and textures.
Optimal Storage for Freshness
To keep your Pumpkin Custard at its best, cover it tightly with plastic wrap directly on the surface of the custard, then again over the dish.
Store it in the coldest part of your refrigerator, away from strong-smelling foods, to maintain its delicate flavor and creamy texture.
Gifting and Transporting Your Custard
If gifting, ensure the custard is completely chilled and set, then wrap the dish securely with plastic wrap and foil.
For transport, place the wrapped dish in an insulated bag with ice packs to keep it cool, preventing any softening or structural issues.
Ready to Delight? Your Perfect Pumpkin Custard Awaits!
Now you have all the insider knowledge to create the most irresistibly silky, creamy, and flavorful Pumpkin Custard you’ve ever tasted. This recipe is a true testament to how simple techniques can elevate classic desserts to extraordinary heights.
Don’t let past disappointments deter you; embrace these secrets and prepare to impress everyone (including yourself!) with a pumpkin treat that delivers on every promise of perfection. I can’t wait to hear how your luscious custard turns out!

Pumpkin Custard
Course: DessertCuisine: American CuisineDifficulty: easy6
servings20
minutes55
minutesAmerican Cuisine
Ingredients
1 (15 ounce) can pure pumpkin puree
3 large eggs
1/2 cup granulated sugar
1/4 cup packed light brown sugar
1 1/2 teaspoons pumpkin pie spice
1/2 teaspoon vanilla extract
1/4 teaspoon salt
1 1/2 cups half-and-half
1 cup prepared whipped topping, for serving
Ground cinnamon, for dusting
Directions
- Preheat your oven to 325°F (160°C). Lightly grease a 1 1/2 quart oven-safe baking dish.
- In a large bowl, whisk together the pumpkin puree, eggs, granulated sugar, brown sugar, pumpkin pie spice, vanilla extract, and salt until well combined.
- Slowly whisk in the half-and-half until the mixture is uniform. Here’s the key to that unbelievably silky texture: Pour the entire pumpkin mixture through a fine-mesh sieve into a clean bowl, pressing any solids with a spoon to ensure all liquid passes through. This step removes any tiny lumps or stringy pumpkin fibers, leaving you with a perfectly smooth base.
- Pour the strained custard mixture into your prepared baking dish.
- Place the baking dish into a larger roasting pan. Carefully pour hot water into the roasting pan until it reaches about halfway up the sides of the baking dish. This water bath is crucial for gentle, even cooking, preventing cracks and ensuring that creamy, smooth interior.
- Bake for 50 to 60 minutes, or until the edges are set and a knife inserted about one inch from the edge comes out clean, but the center still has a slight jiggle. Do not overbake; pulling it out at this slightly jiggly stage is essential for preventing a dry or grainy texture as it finishes setting while cooling.
- Carefully remove the baking dish from the water bath and let it cool completely on a wire rack. Once cooled, refrigerate for at least 4 hours, or preferably overnight, for the best firm and silky texture.
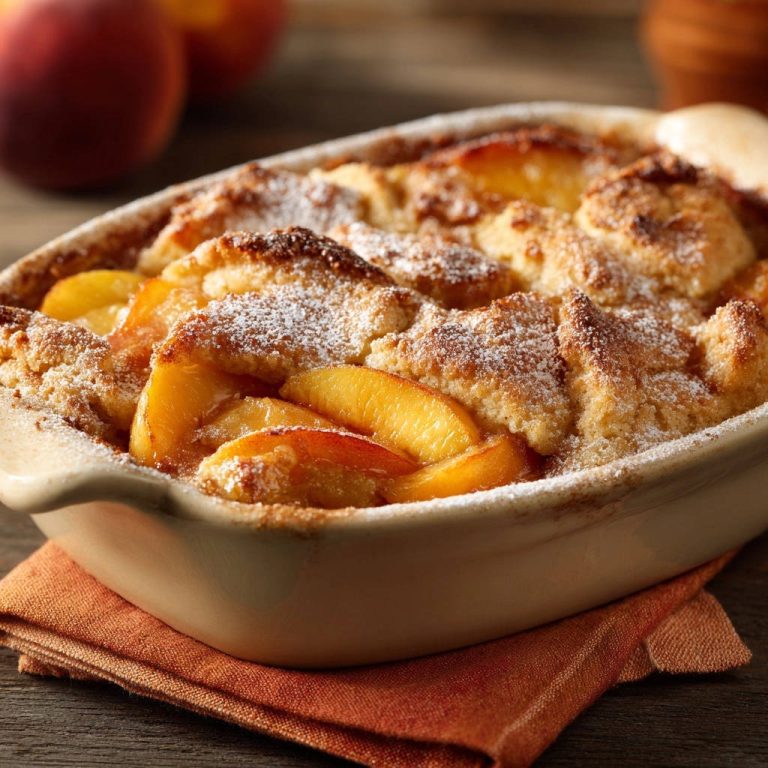
- Serve chilled, topped generously with dollops of whipped topping and a light dusting of ground cinnamon, just like in the picture!
Notes
- Straining the mixture and using a water bath are crucial for a silky smooth texture.